CREATE A BATHROOM VANITY UNIT
PERFECTLY INTEGRATES
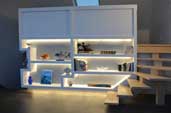
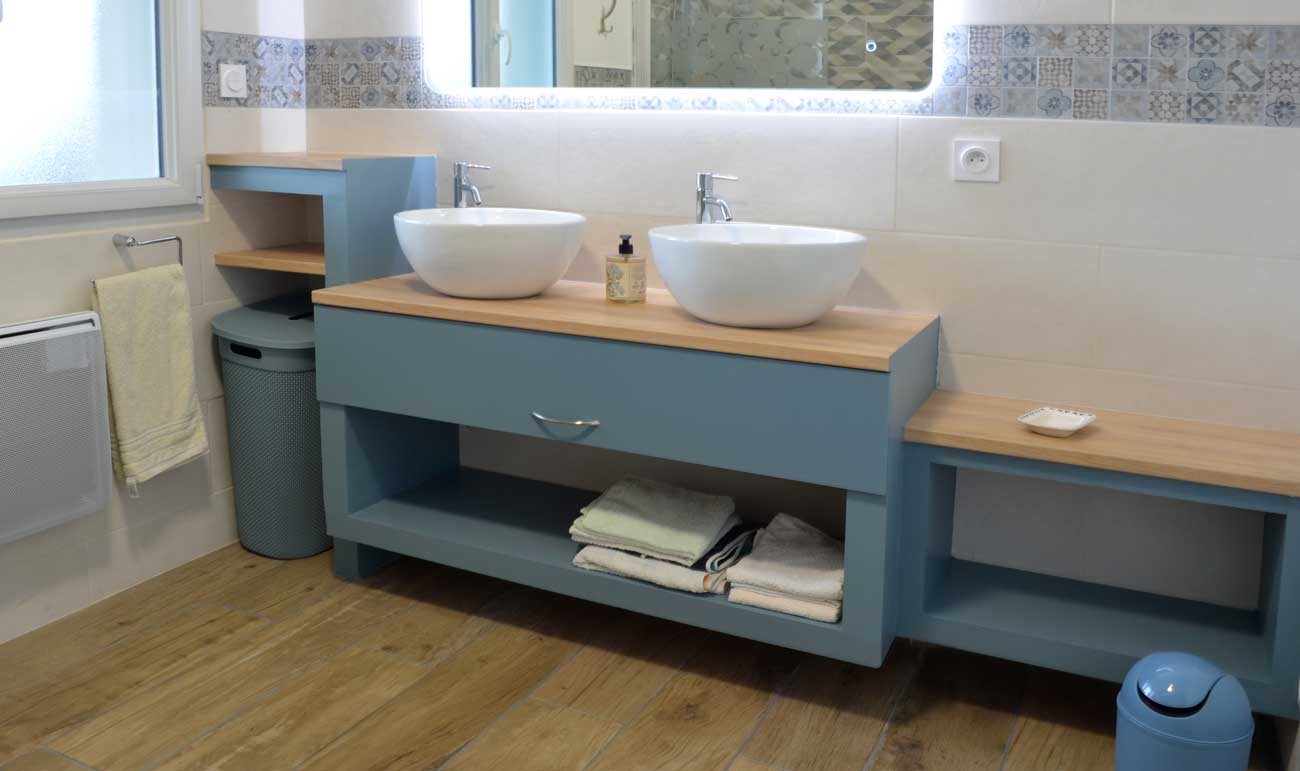
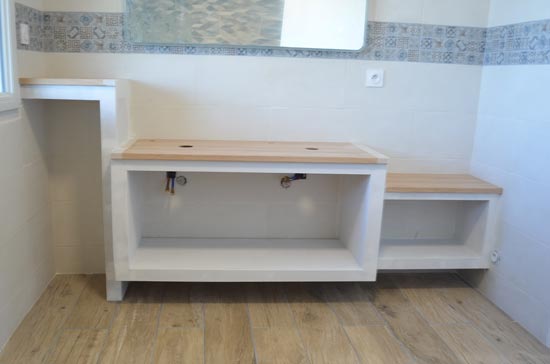
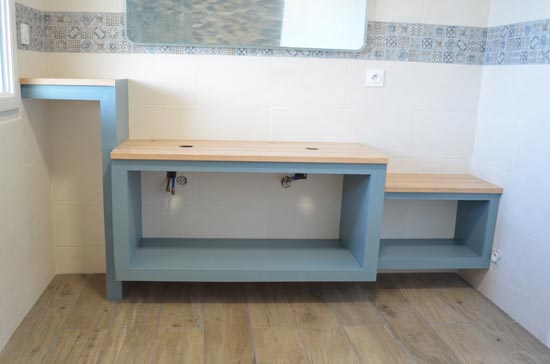
This bathroom vanity is made of three distinct modules:
- A tall shelf module with a small shelf and space for a large hamper.
- A central module for the two wash basins and a large drawer that allows for maximum storage while concealing sink pipework.
- A third module providing additional storage space. It can also be used as a bench.
Each module was built directly against the wall. The whole vanity unit integrates perfectly into the room and optimizes the space in the bathroom.
 |
| There is no particular difficulty for this construction. Boards must be cut as precisely as possible. |
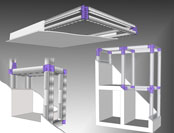
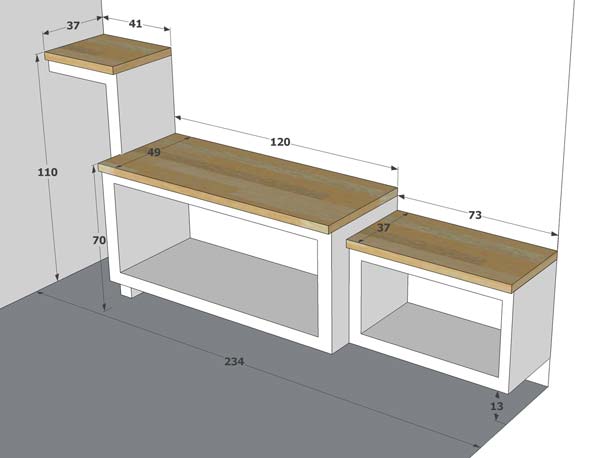
PLAN
CONSTRUCTION STEPS

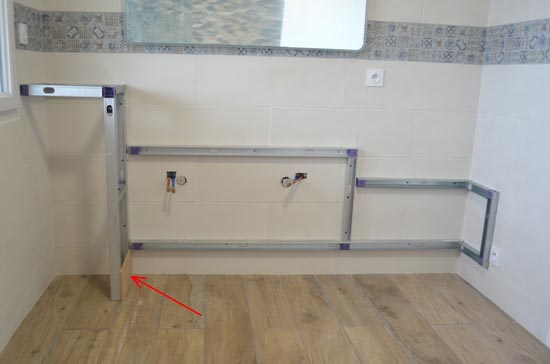
Trace the outline of the unit on the wall. Leave a 1cm gap between the studs
in order to install the vertical panels (see step 4).
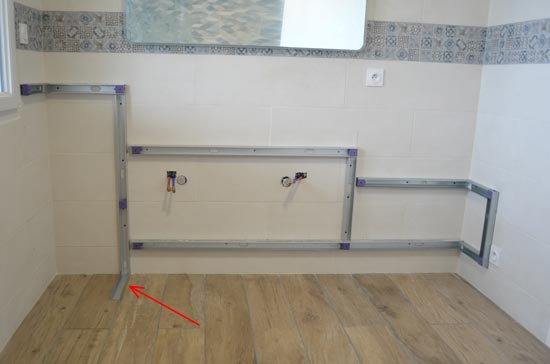
Install a piece of track on the floor (dimension: width of the unit). It is not necessary to screw it into the floor.
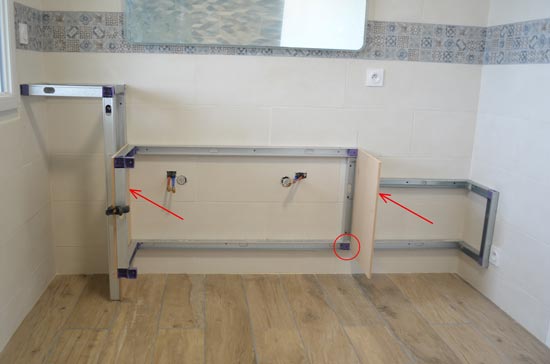
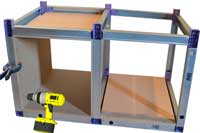
Fix the two vertical panels (Cut a small notch into the right panel). These panels are key for the solidity of the construction, be sure to screw them thightly into the vertical studs.
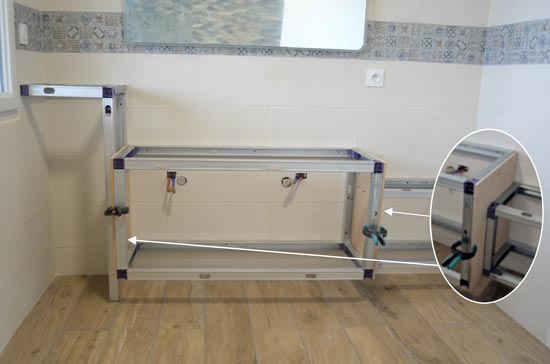
Mount the rest of the metallic structure. Start with the metallic studs for the two side modules: screw these directly onto the vertical panels installed previously.
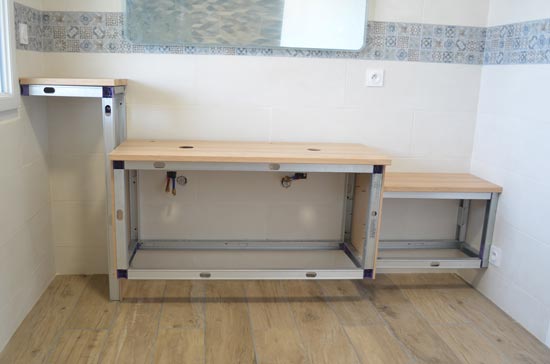
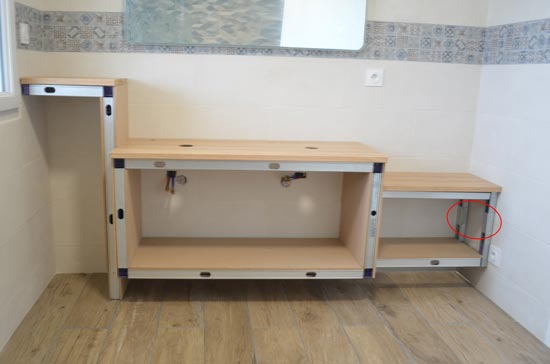
Position and screw the vanity tops into place.
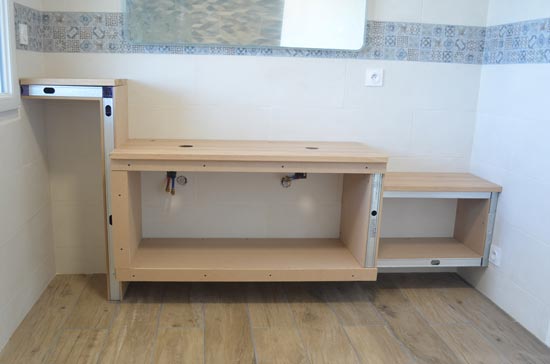
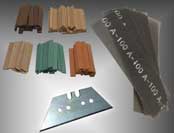
Band the edges of your structure: use thin bands of medium board (width 7cm) along the edges to cover up the metal studs. You can screw these directly onto the metal studs.
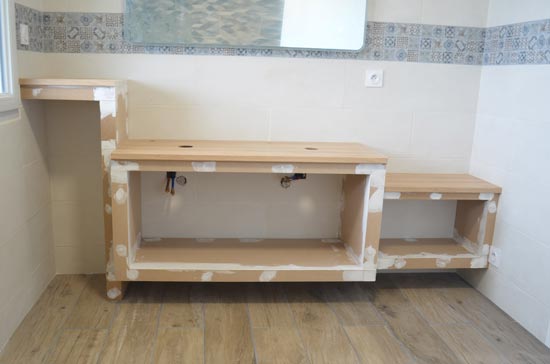
plug all holes and cracks with wood filer, Sand your construction then apply a finishing compound.
Apply a single coat of primer.
Apply top coats of paint of the colour of your choice.
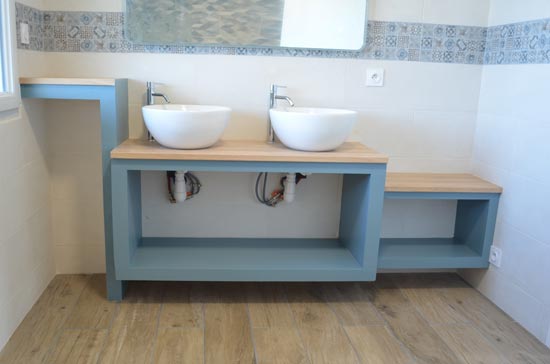
Et voilà ! You can install the washbasins and the taps.
Construction details
For this construction we used C-studs and 10 mm thick medium boards.
The worktops are made of 4 cm thick laminate.
The large drawer was also made using the Kinook system using full extension runners. Details of the drawer construction can be found on our "Build a drawer" page.
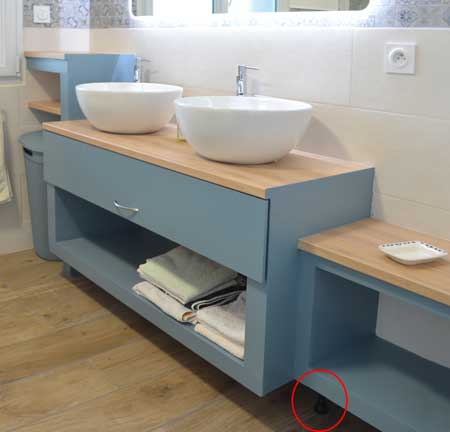
To further strengthen the construction, a leg can be added underneath the unit. The right-hand side module can be safely used as a bench.
| Download the construction details |
 |
More ressources
|
|