DIY a Bedroom Closet
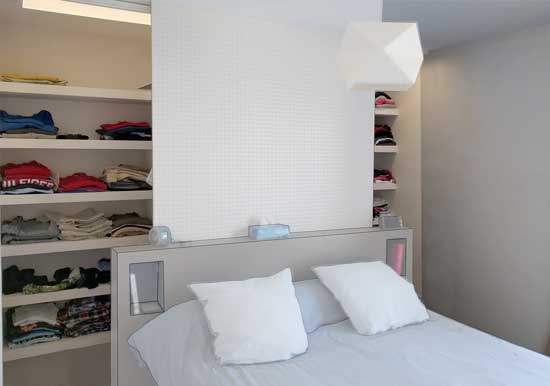
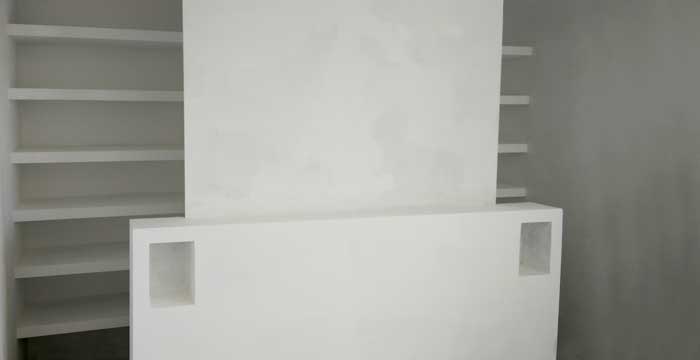
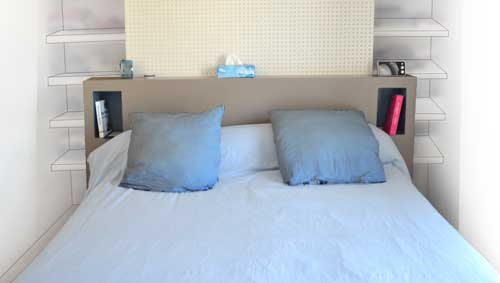
This closet is made up of two symmetrical spaces separated by a partition in the middle. Each space has an individual clothes rack and several shelves.
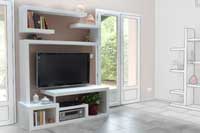
To optimise space, the closet is built between the head board and the back wall, making for spacious storage room.
optimise the space
Adjust the dimensions to your room size. You can conceal the closet by adding curtains or rigid panels. You can also add integrated lighting. Download our plan and tune the dimensions to your need.
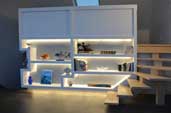
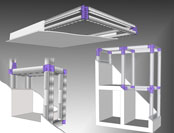
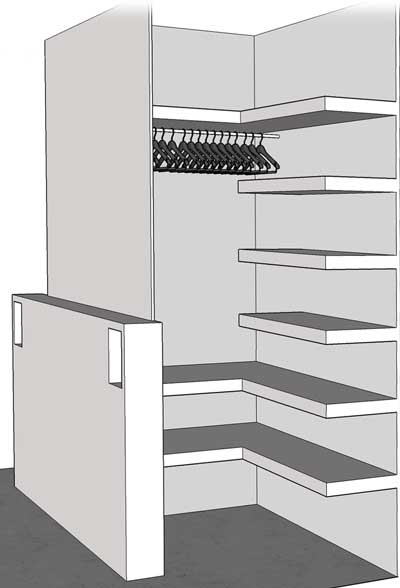
3D View
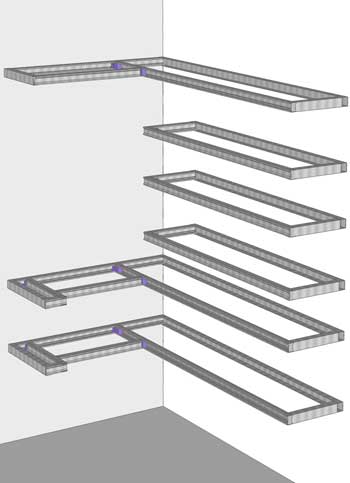
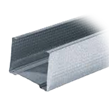
The metallic structure is built with C-studs and tracks. The C-studs are assembled using Kinook blocks and then crimped to track studs which were previously screwed onto the wall.
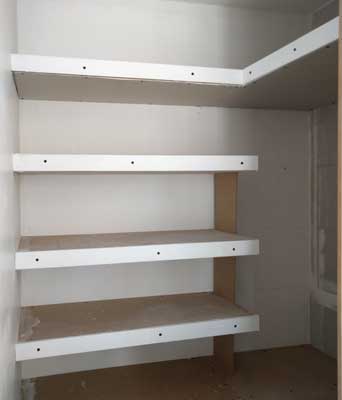
The top shelf and the two bottom ones are in an L-shape. The top part of the shelves is covered with 6mm medium panels for extra strength. The bottom part and sides of the shelves are covered with 6mm plasterboard.
The headboard is placed at about 90 cm from the wall (the width of the closet behind). Refer to our blueprint for more information. Don't forget to string cables through the structure to equip your closet with lights and plugs, depending on your needs and the layout of the room.
Step-by-step construction
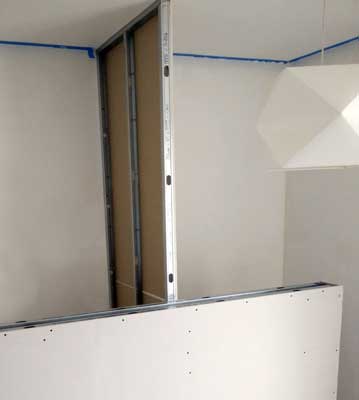
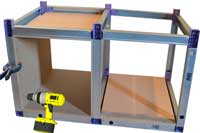
Build a partition between the wall and the headboard. This is a "classic" plasterboard partition construction with one track stud screwed to the floor, another on the ceiling and three vertical C-studs.
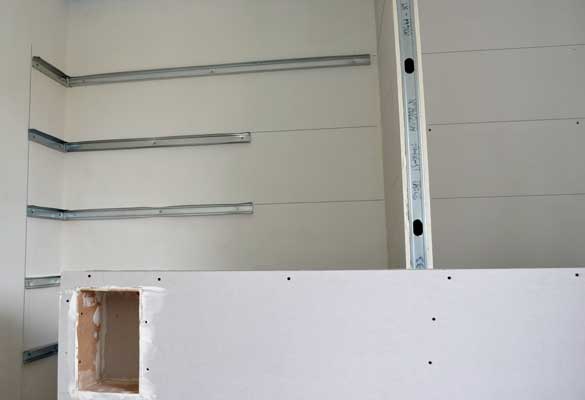
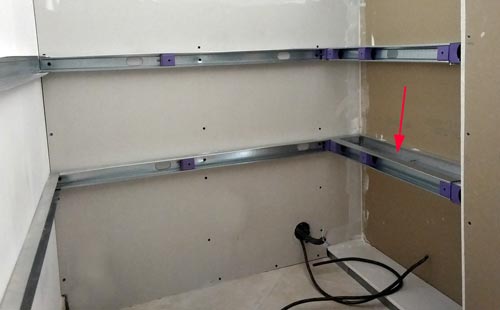
Trace the position of the shelves onto the back and lateral walls and screw on the track stud.
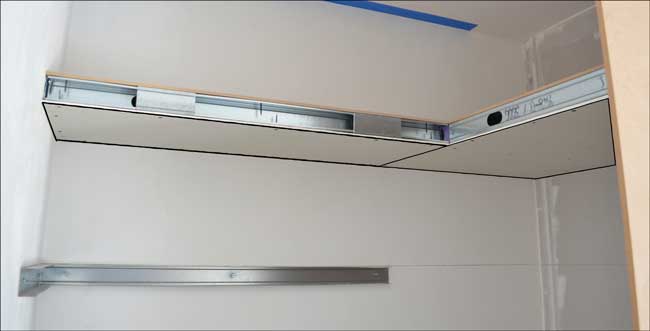
Building the top shelves
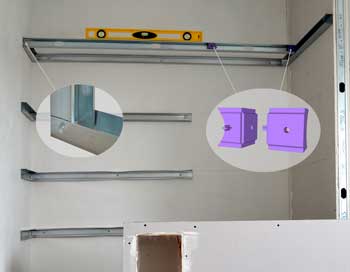
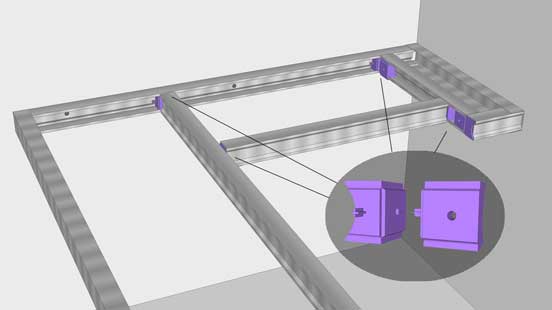
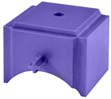
Screw a C-stud with a small Kinook block inside onto the partition wall. Slide a small Kinook block into the next outer C-stud and connect it to the other small Kinook block in the C-stud on the partition.
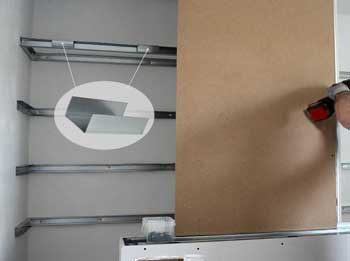
Crimp two small pieces of rail onto the outer C-stud. These will be used to band the edges. Then, install a 10 mm-thick medium board to separate the headboard from the closet.
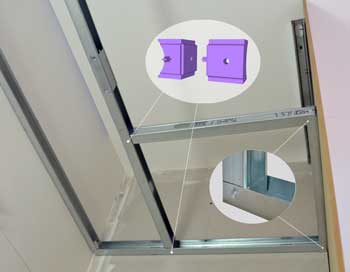
Finish off the structure as shown on the photo above: with two small Kinook blocks and a crimped corner.
Dress the shelves with 6mm-thick medium boards on top, and 6 mm plasterboard (BA06) underneath.
Note how the boards are positioned onto the structure for better solidity. More details on the corner shelf page.
A vertical board was added to consolidate the three rectangular middle shelves. This board separates the shelves from the clothes rack and solidifies the structure.
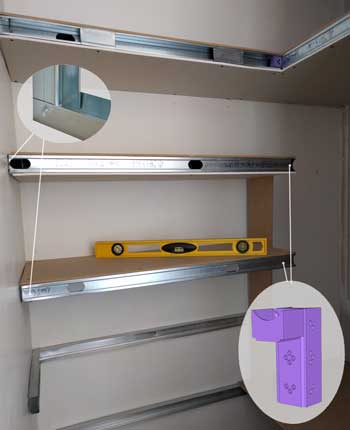
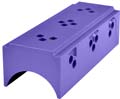
The structure of the three rectangular shelves is created with two C-studs crimped to the wall track stud on one side and assembled with a small and a large Kinook block on the other side.
Bottom shelves
As for the top shelf, the two bottom L-shelves are created by assembling metallic C-studs with two small Kinook blocks, as shown above.

The symmetrical right part of the closet is built identically.
Plug the holes with wood filler (MDF) and plaster (plasterboard), sand then apply a finishing compound before painting.
Hint
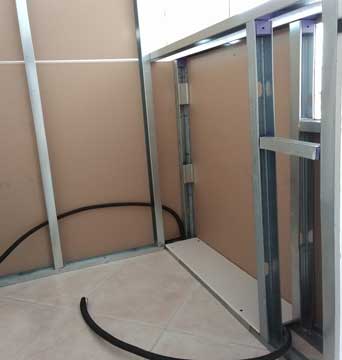
Make use of the empty spaces before fixing the boards to string cables through the structure for lights and plugs.
See also
Build a Headboard
More Ressources
|
|