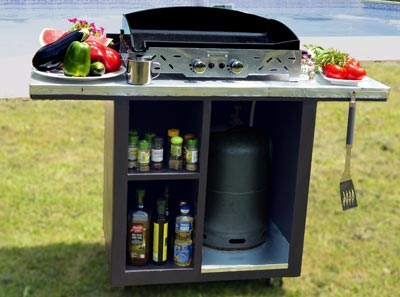
OUTBACK STAND FOR PLANCHA
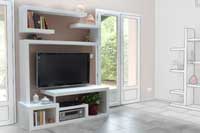
A practical and solid outdoor furniture.
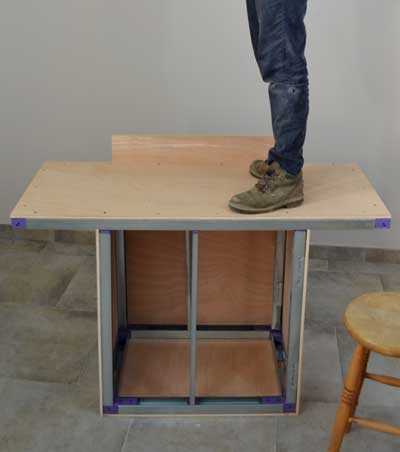
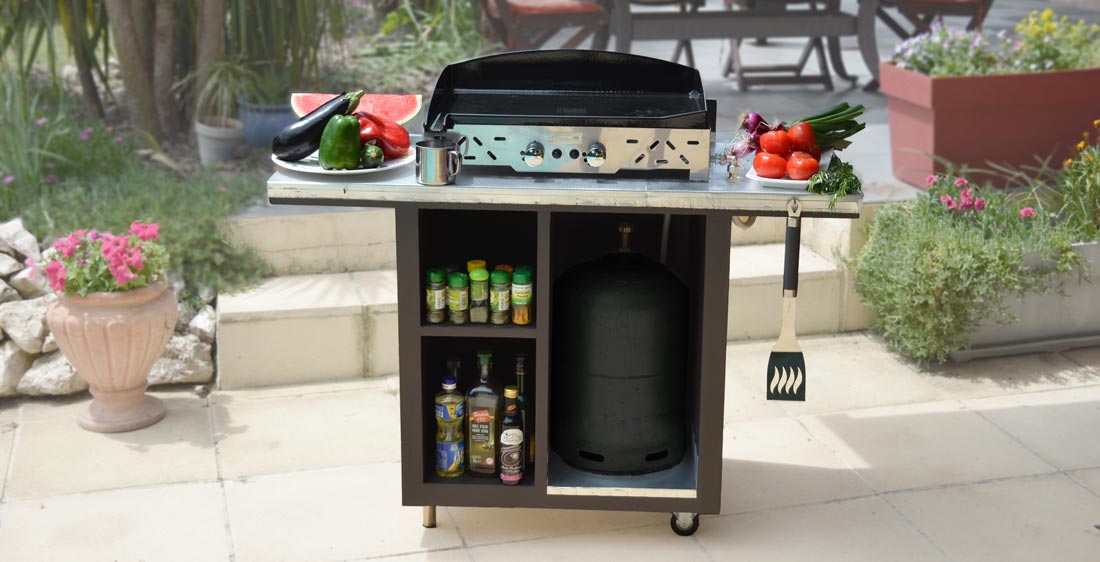
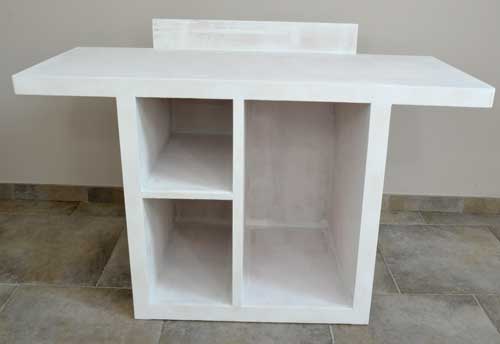
Made with plywood panels screwed onto a metal frame, this stand for plancha offers a large work surface and many storage spaces. The gas bottle and all the utensils will easily find their place inside the cabinet.
Mounted on wheels, lightweight, it is easy to move in the garden or on the terrace.
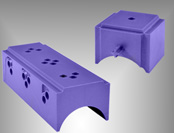
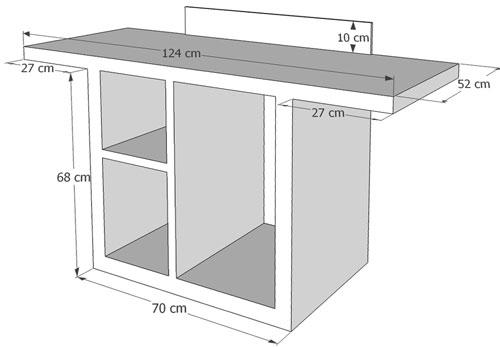
Plan
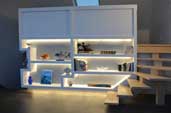
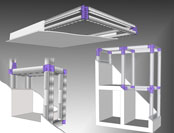
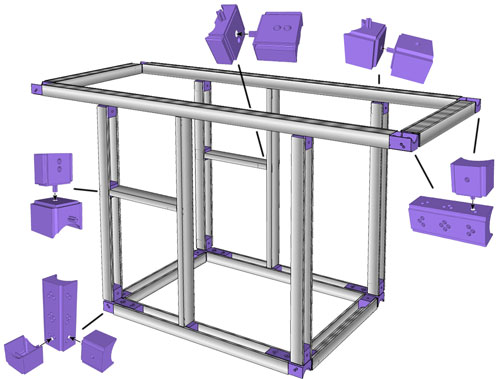
3D View
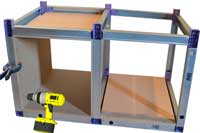
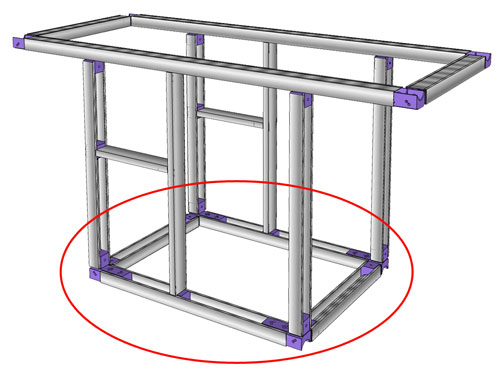
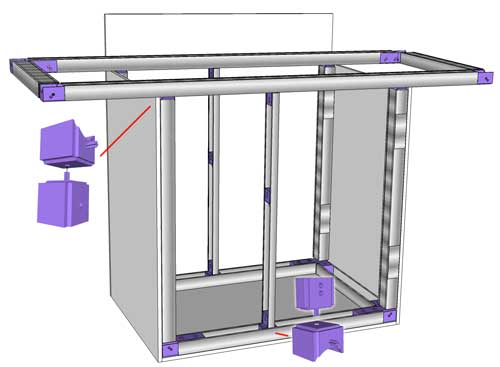
Step 1
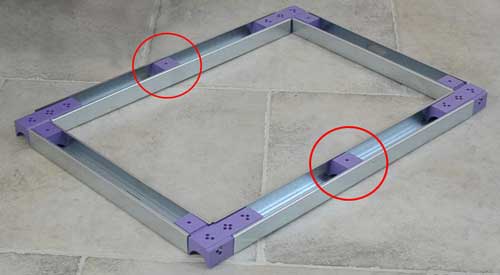
First we assemble the metal framework of the lower part of the stand.
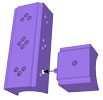
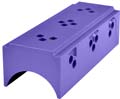
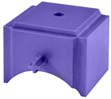
For each angle, we use a small and a long Kinook block.
A small Kinook block is inserted into each of the horizontal stud. It will be used to connect the lining channels of the central shelf.
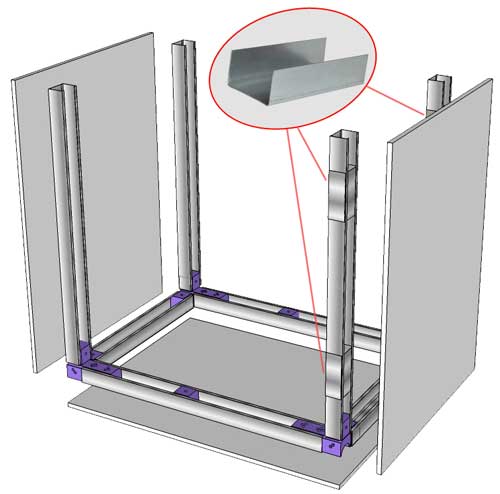
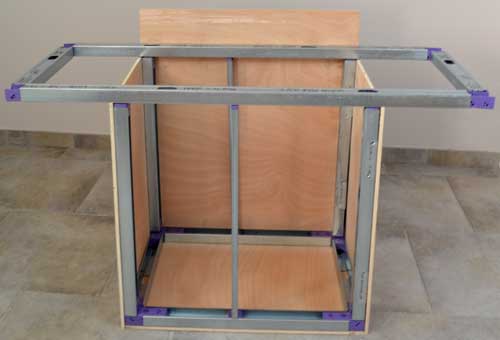
Step 2
- Crimp 2 small piece of track on the right vertical studs.
- Assembler the 4 vertical studs.
- Screw on the panels. Glue can be added to assemble the plates, which will further strengthen the construction and plug the unevenness between the plates.
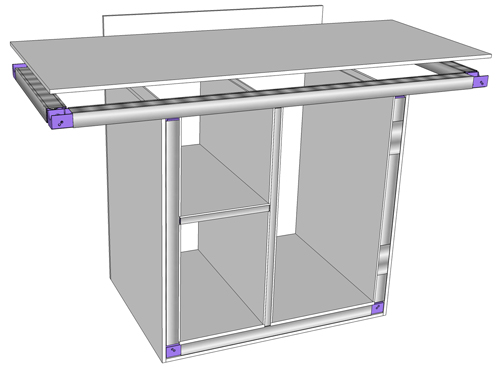
Step 3
- Assemble the metal frame of the top part of the stand
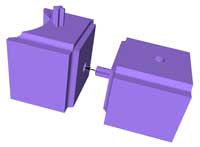
- Connect it to the structure using 2 small Kinook blocks.
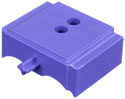
The lining channels connected to the main structure with one mini ane one small Kinook block.
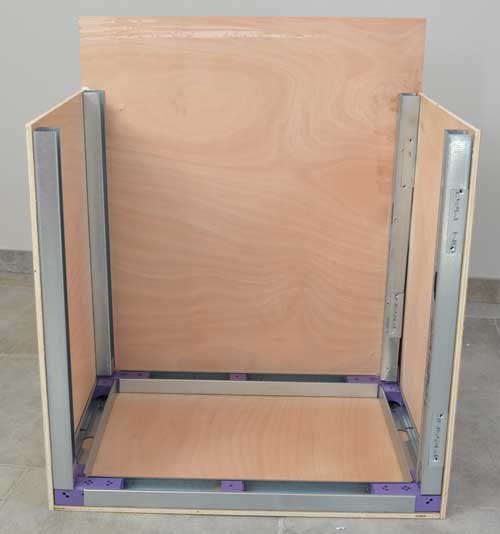
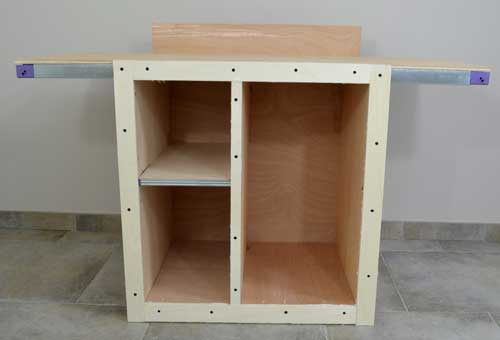
Step 4
- Screw the top plate onto the frame.
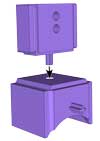
- Assemble the metal frame of the inner shelf with lining channel and mini Kinook blocks.
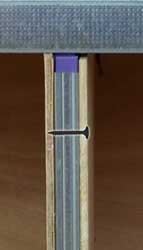
- install the inner shelves panels. Use 25 mm screws, long enough to hold the panels on each side.
Finitions
Plug the holes with wood filler, sand then apply a finishing compound before painting.
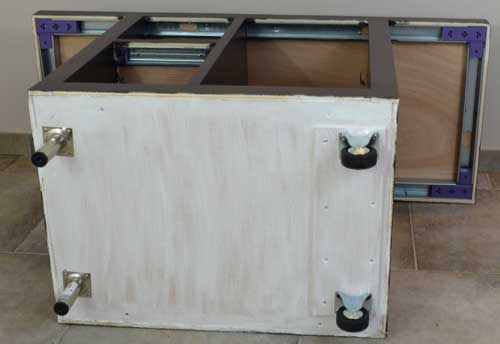
To easily move the stand, 2 small wheels and 2 feet (height ~10cm) have been added
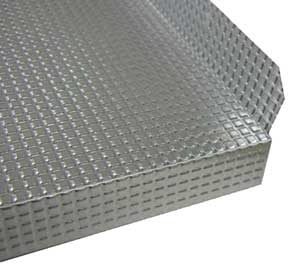
| To protect the worktop and shelves, an aluminium sheet can be added. |
 |

download the plan
|
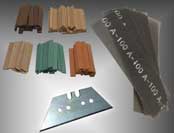
Material
The panels are made of 10 mm and 6 mm plywood. Exterior plywood was used to make the construction weatherproof (details of the cuts in the plan). |
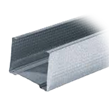
| Lining channel |
 |
1 X 2,40m |
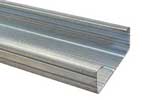
| C-studs |
 |
4 x 2,50m |
More ressources
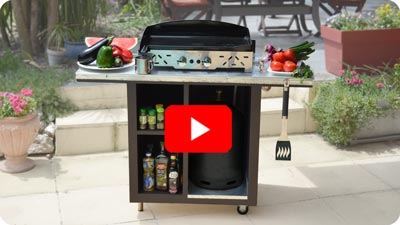
Video tutorial
|
|